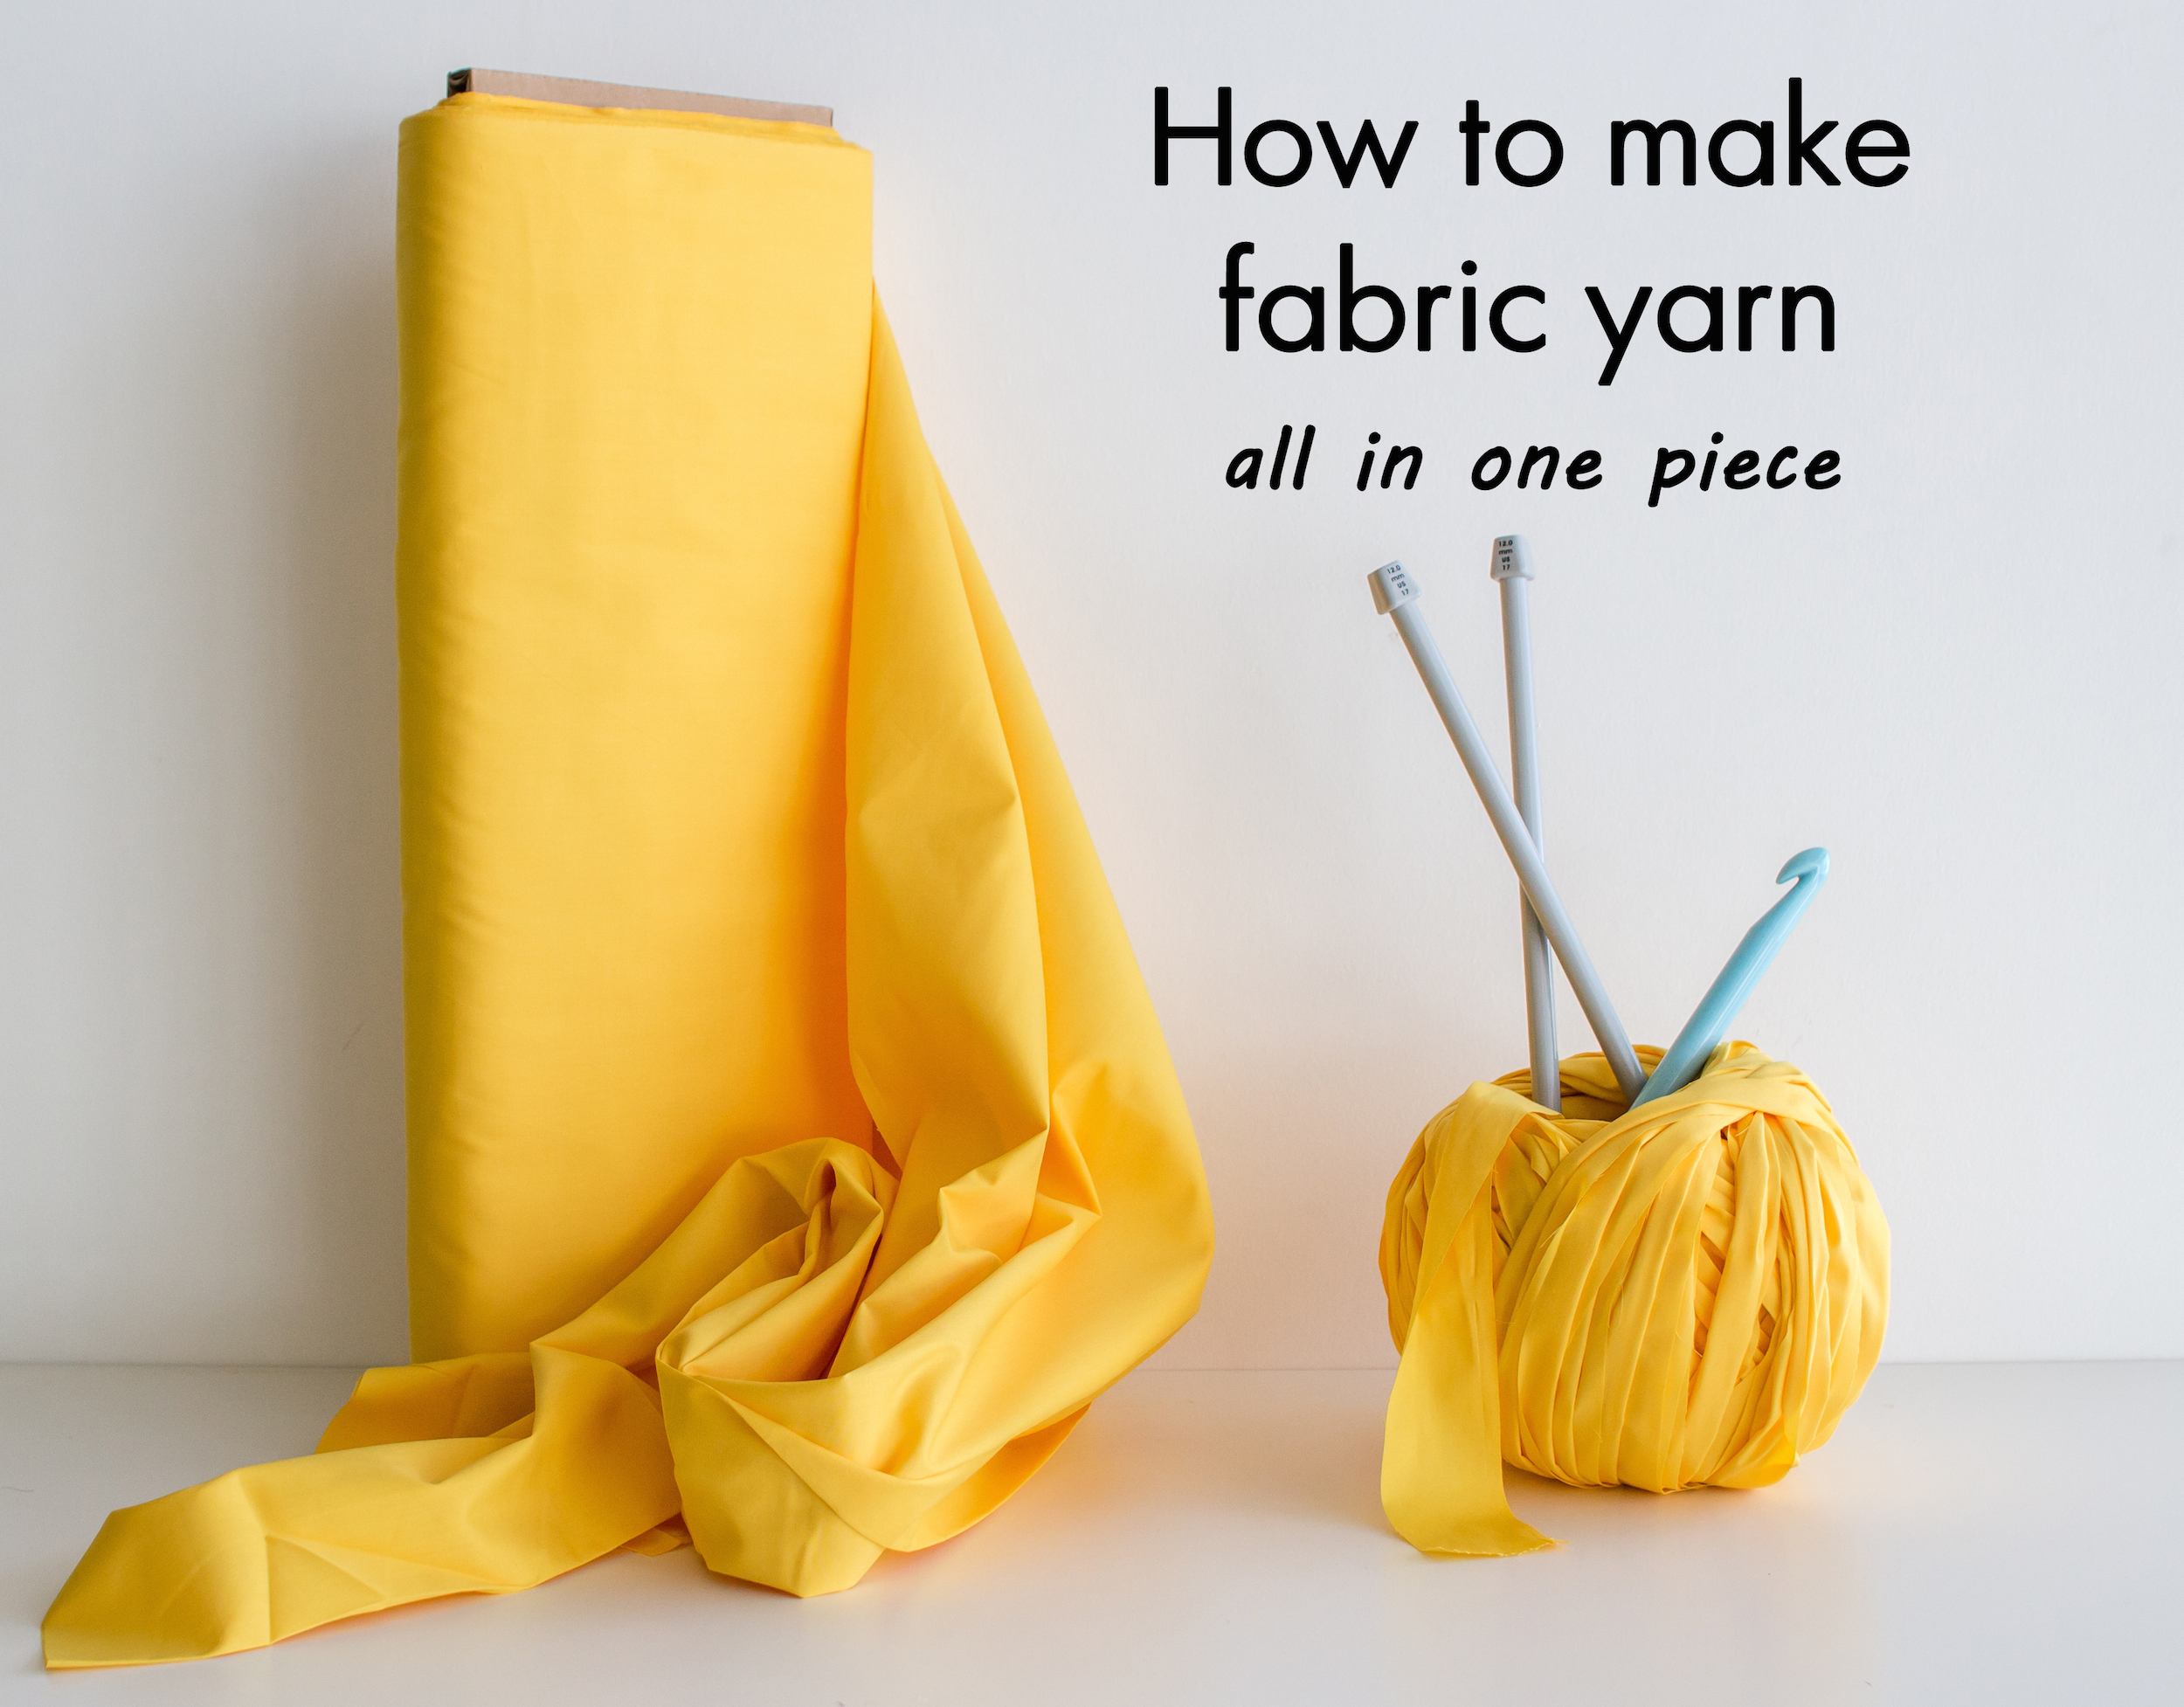
So you want to repurpose some old sheets or fabric remnants, but all you can find on Pinterest are tutorials on how to make T-shirt yarn. You want to make yarn with no knots from a flat sheet of fabric, not a tube of fabric from a T-shirt. (The methods differ critically.) We had the same problem: for a recent installation of jumbo knit flags, we needed an efficient way to cut nearly a mile of fabric into 20 miles of yarn to knit on jumbo 1-inch diameter needles. We were surprised to find no best method. So, we improved on other techniques to get this efficient, knot-free technique that produces one continuous strand from extra large sheets of fabric. Let’s get started!
How to use fabric yarn
You may not have as epic a project to knit, but we’re sure you know that feeling when you don’t want to trash sheets you can’t donate. Who doesn’t aspire to upcycle old sheets into cute rugs for shoe-gazing barefoot selfies? Or to put all those sewing remnants to work in a worthy scrap-busting project? Look how nicely this yarn crochets and knits up into rustic fabric with a genuine handmade feel. You can experiment with hook and needle sizes to get a variety of looks from stiff to drapey. (Pictured are 12 mm US 17 knitting needles, but we also used this yarn on 33 mm needles for a completely different effect.) We especially like how chic color-blocking with solids looks.

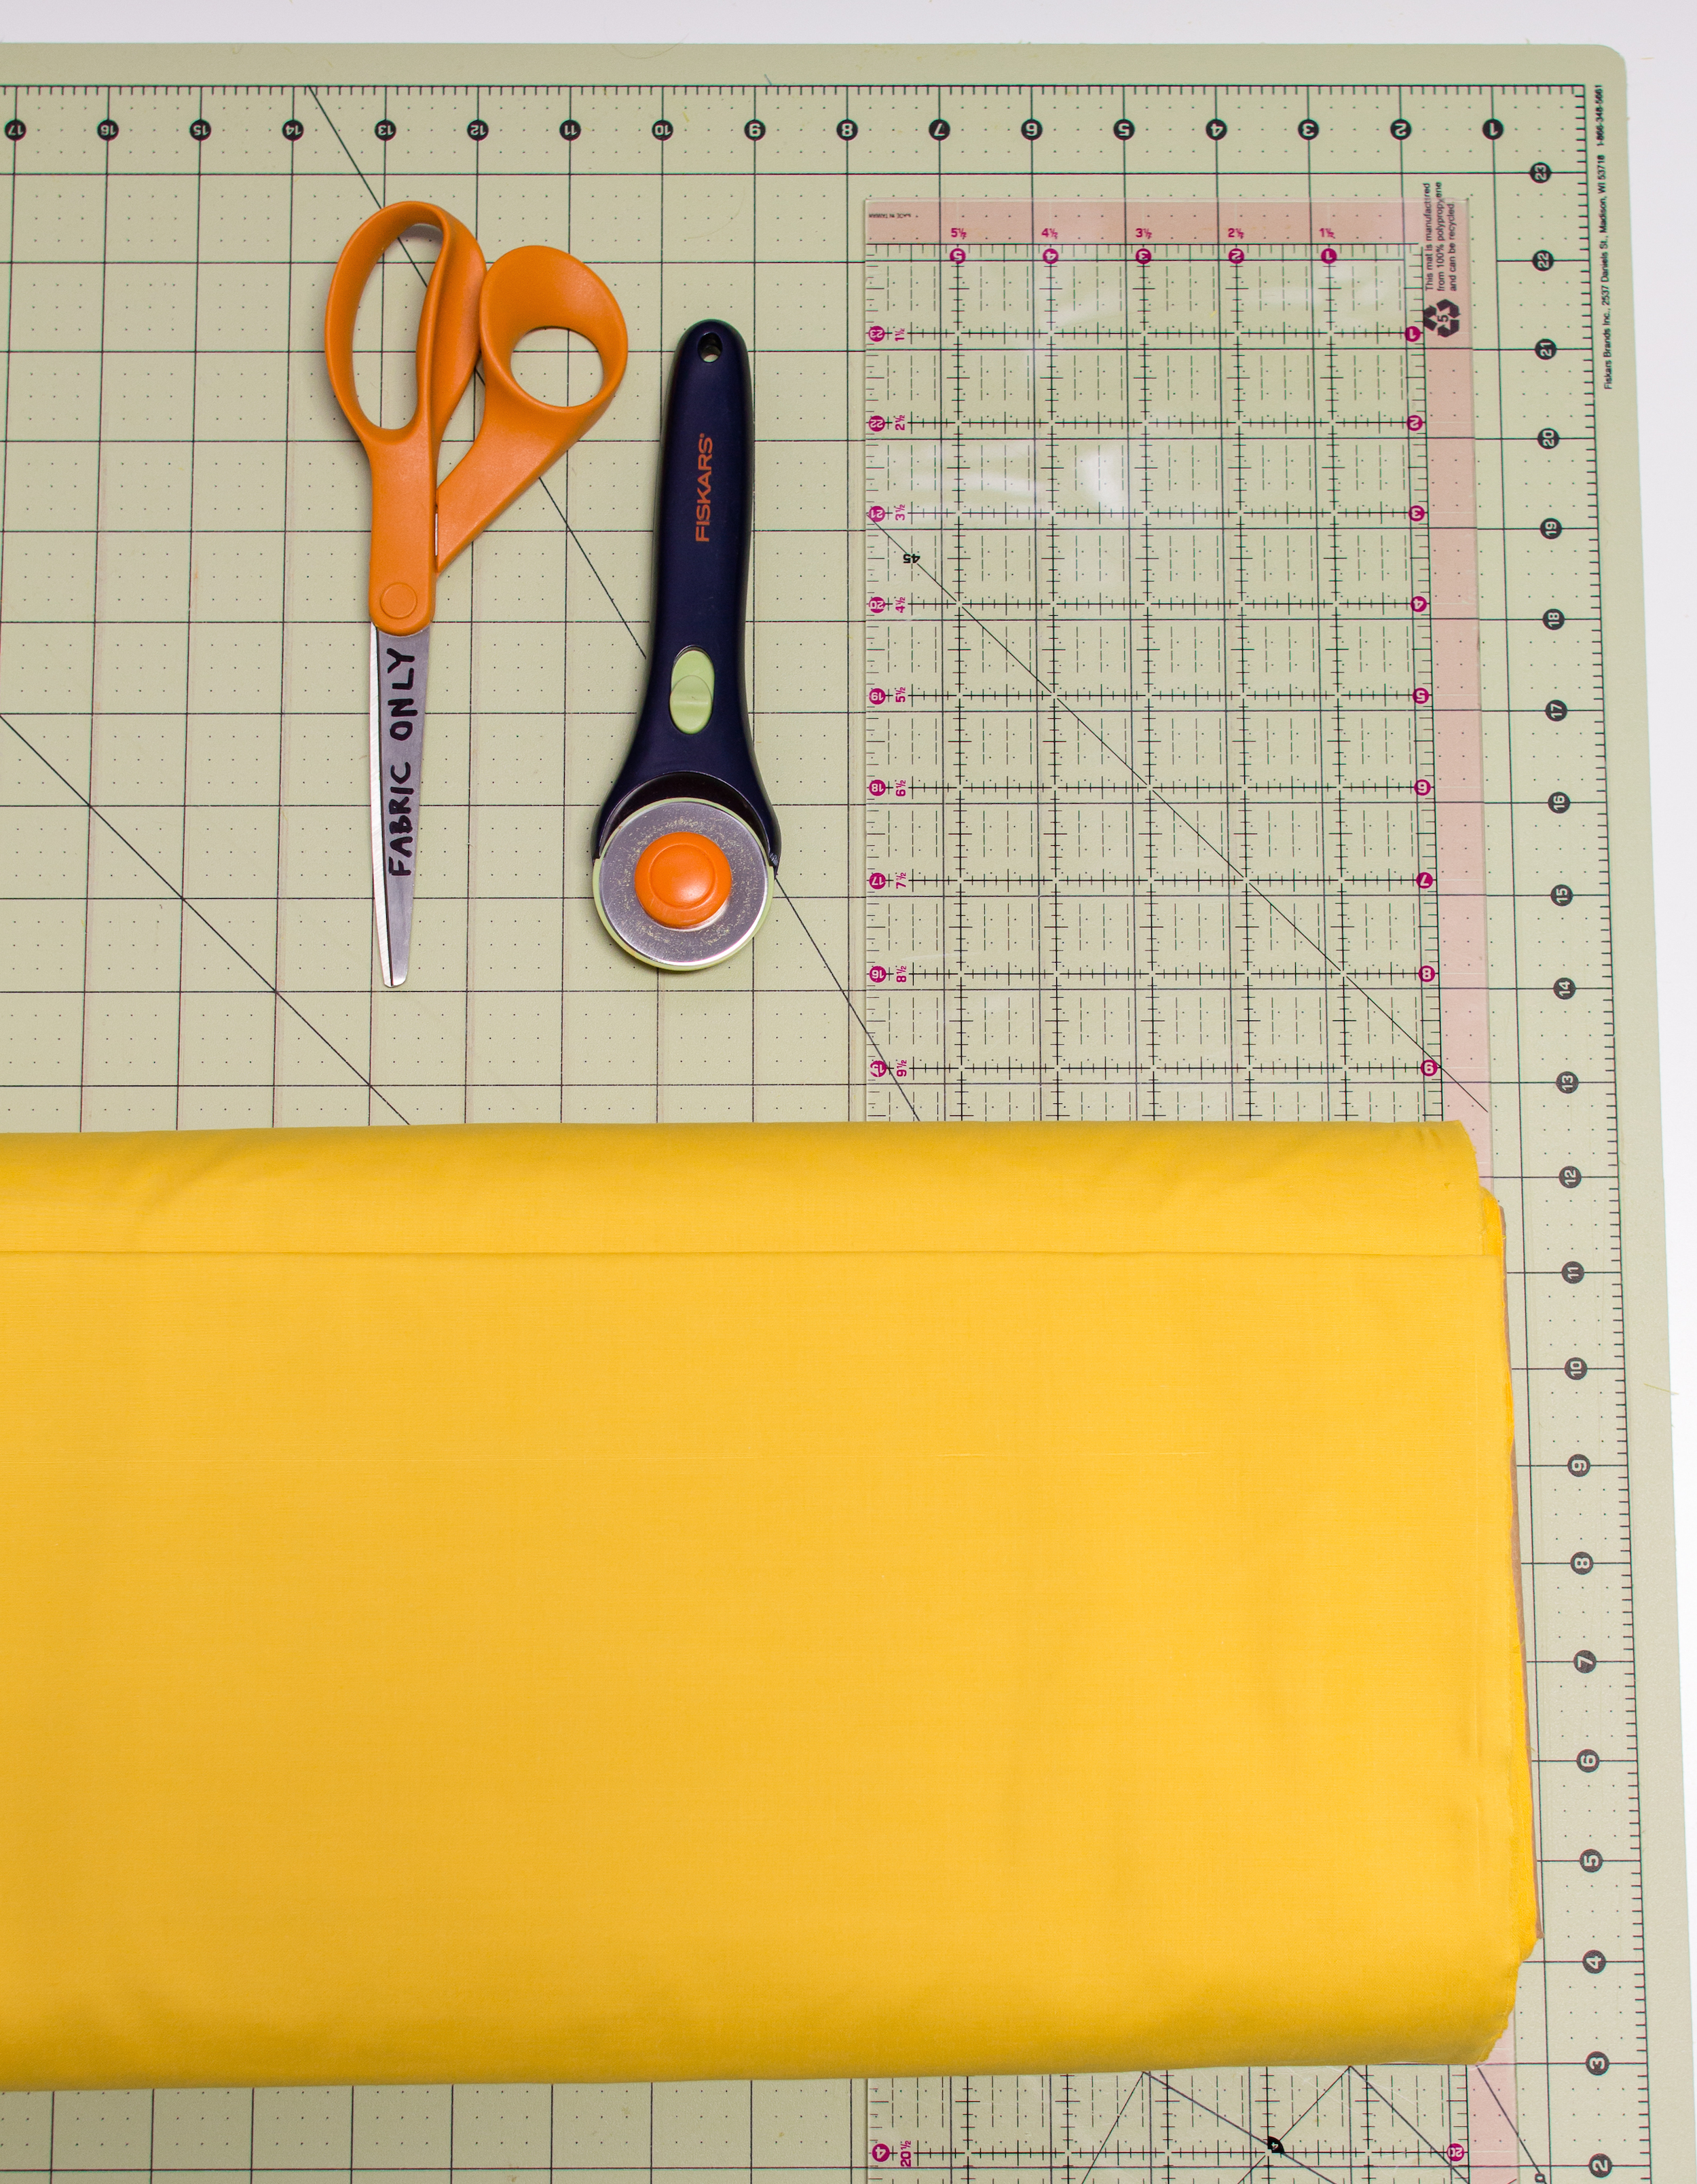
Materials
- Cutting mat (self-healing is best)
- Quilter’s ruler (non-slip is best)
- Rotary cutter (new blade is best)
- Scissors (fabric are best)
- Fabric
The sharper the better! As you can see, Jill is a Nazi about the fabric scissors so they stay sharp and effective. All this stuff is great to stock up on when your craft store has those exciting yet dangerous 40% off sales.
How to fold
- Fold the fabric, halving the longest side.
- Fold the fabric again in the same direction, but this time only bring the folded edge up about 1.5 inches away from the edges.
- Repeat bringing the new folded edge even with the other folded edges until you have as many layers as you can cut through at once, or until it’s short enough to fit on your cutting mat, whichever happens first. If it’s too big for your mat, you can slide it around while cutting to make it work.
We folded about six yards of poly-cotton broadcloth four times to get 16 layers. A fresh rotary blade easily cut through it with enough pressure. You might want to test scrap of your fabric to see how many layers your blade will handle.


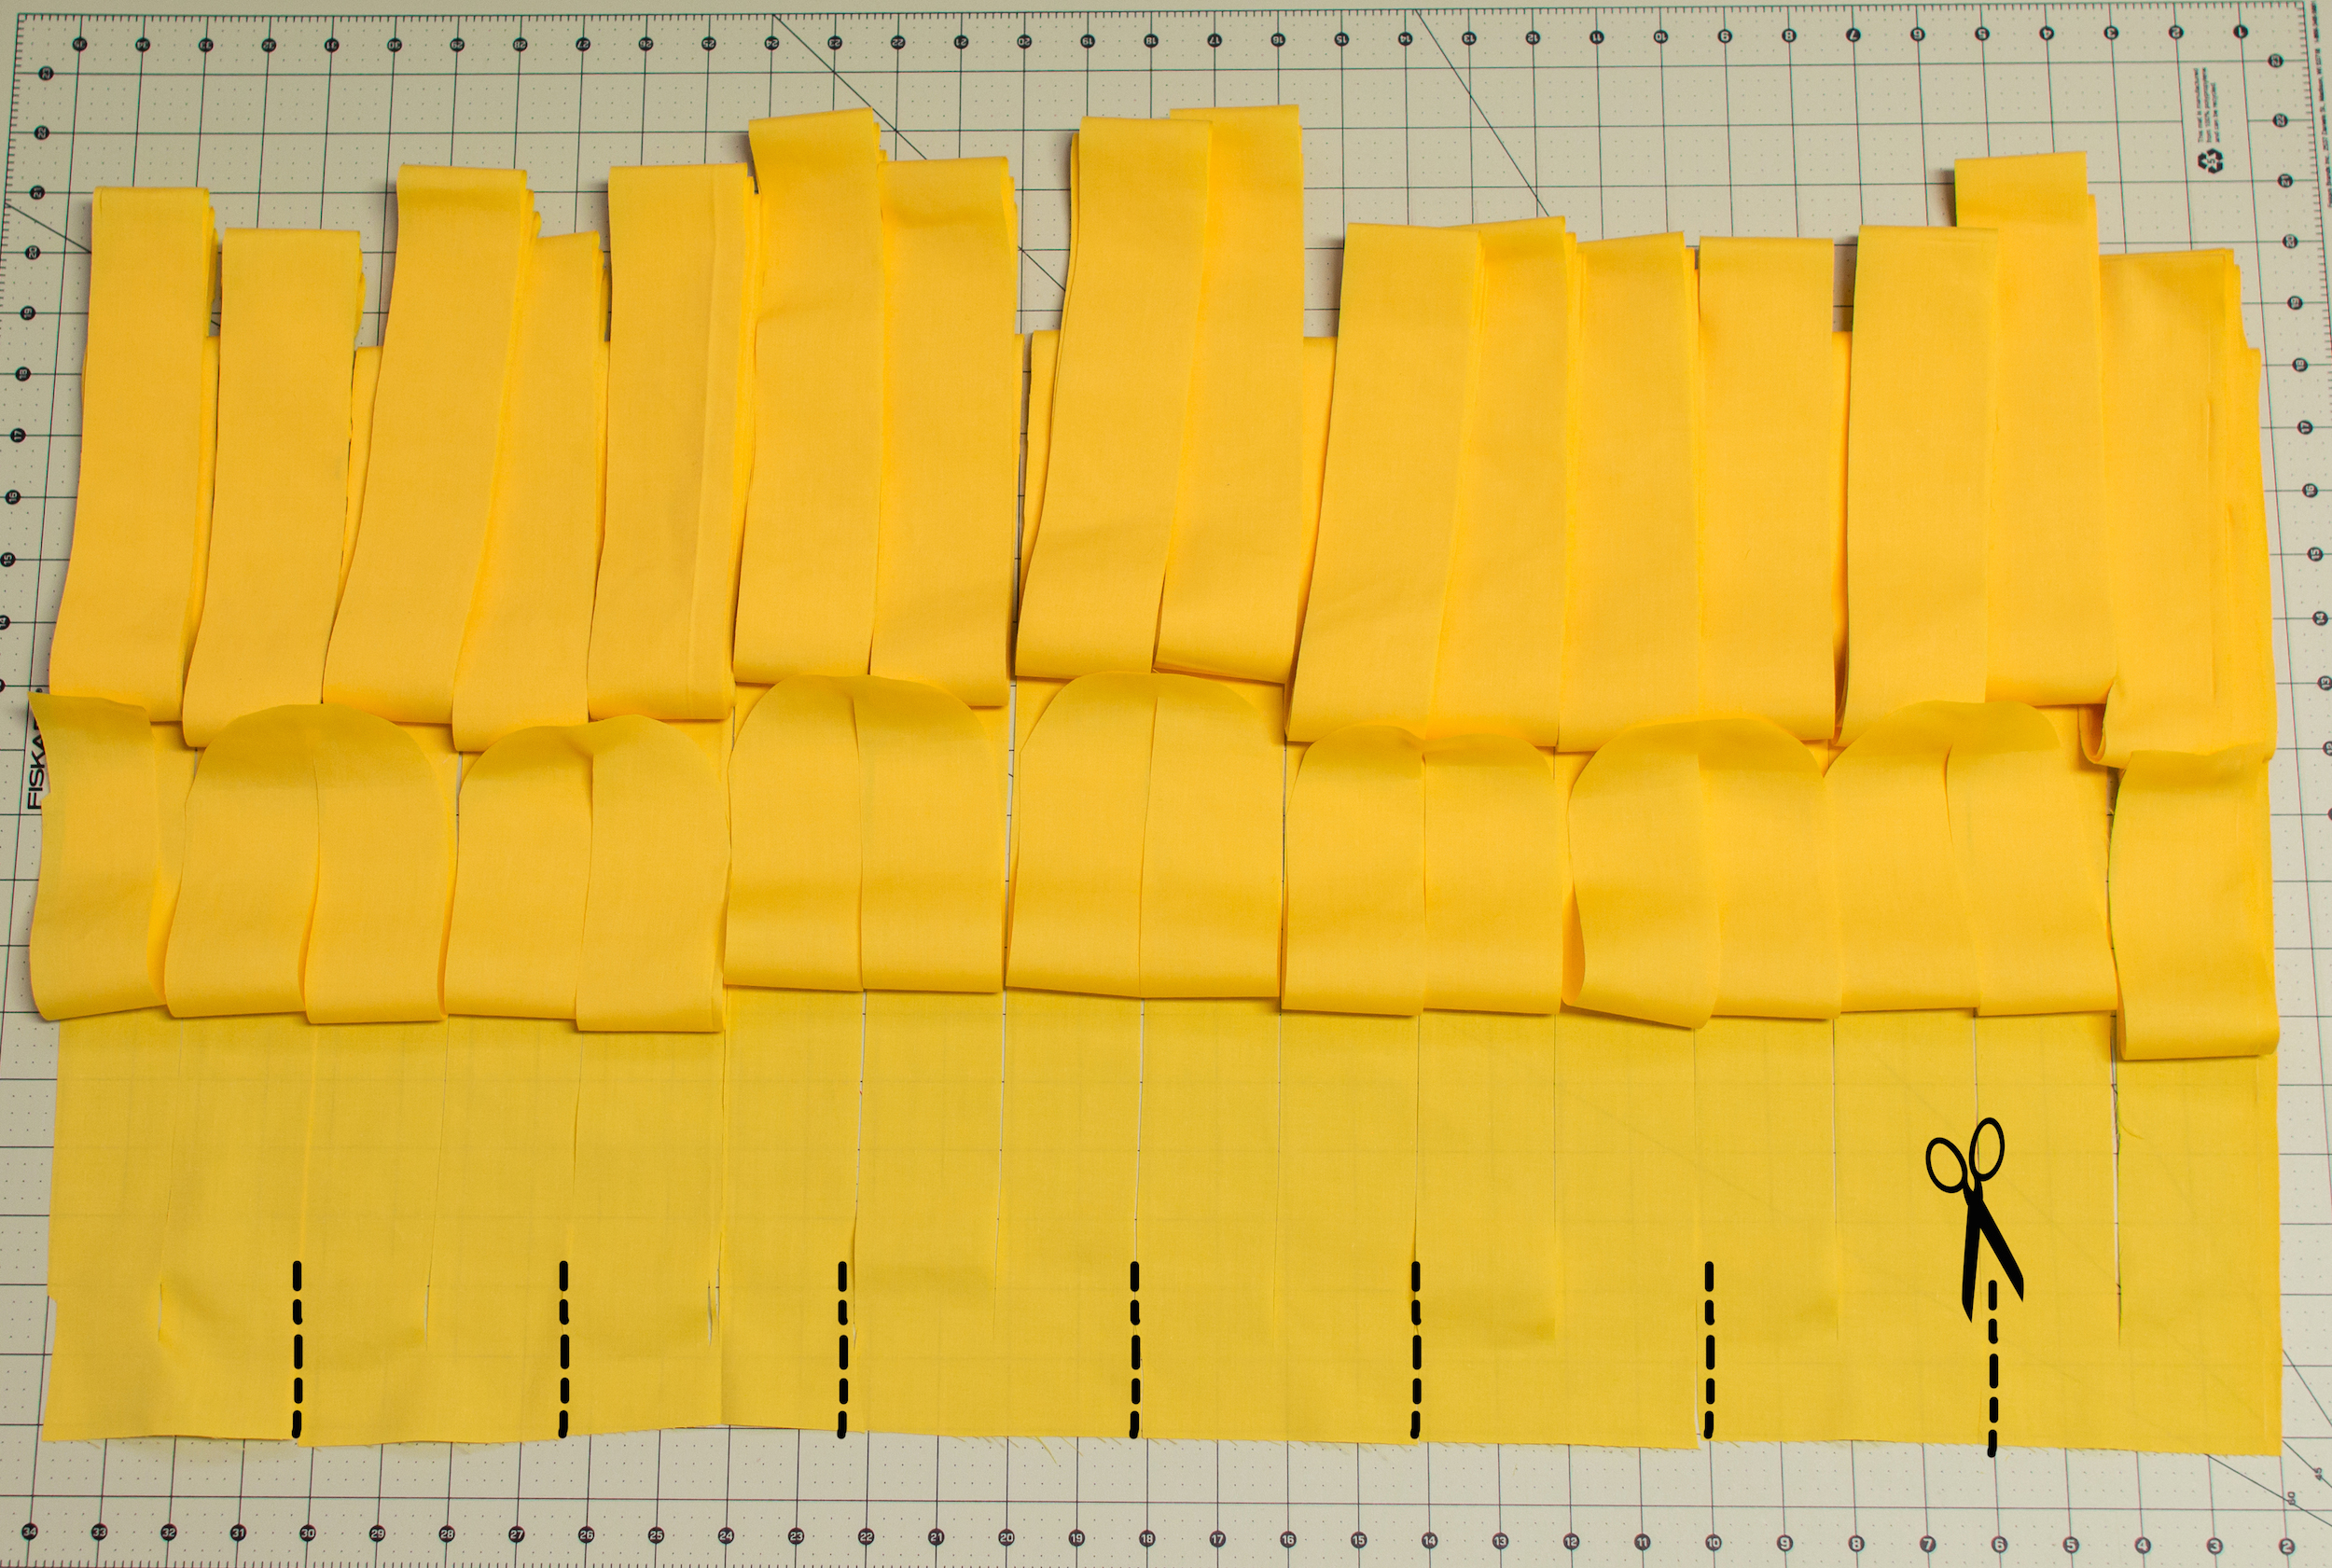
How to cut the main strips
- Use the rotary cutter to cut 2-inch wide strips.
- Start each cut from the stack of folded edges, cutting across to the other folded edge.
- Do not cut through the 1.5 inches of fabric between the stack of folded edges and the fabric edges.
You can vary the weight of your fabric yarn by varying the width of strips in this step. Narrower strips will create finer fabric yarn that you can use with smaller hooks and needles. Wider strips will create bulkier fabric yarn that will work up faster on big hooks and needles. You might want to experiment with some scraps to see what weight yarn you want for your project.


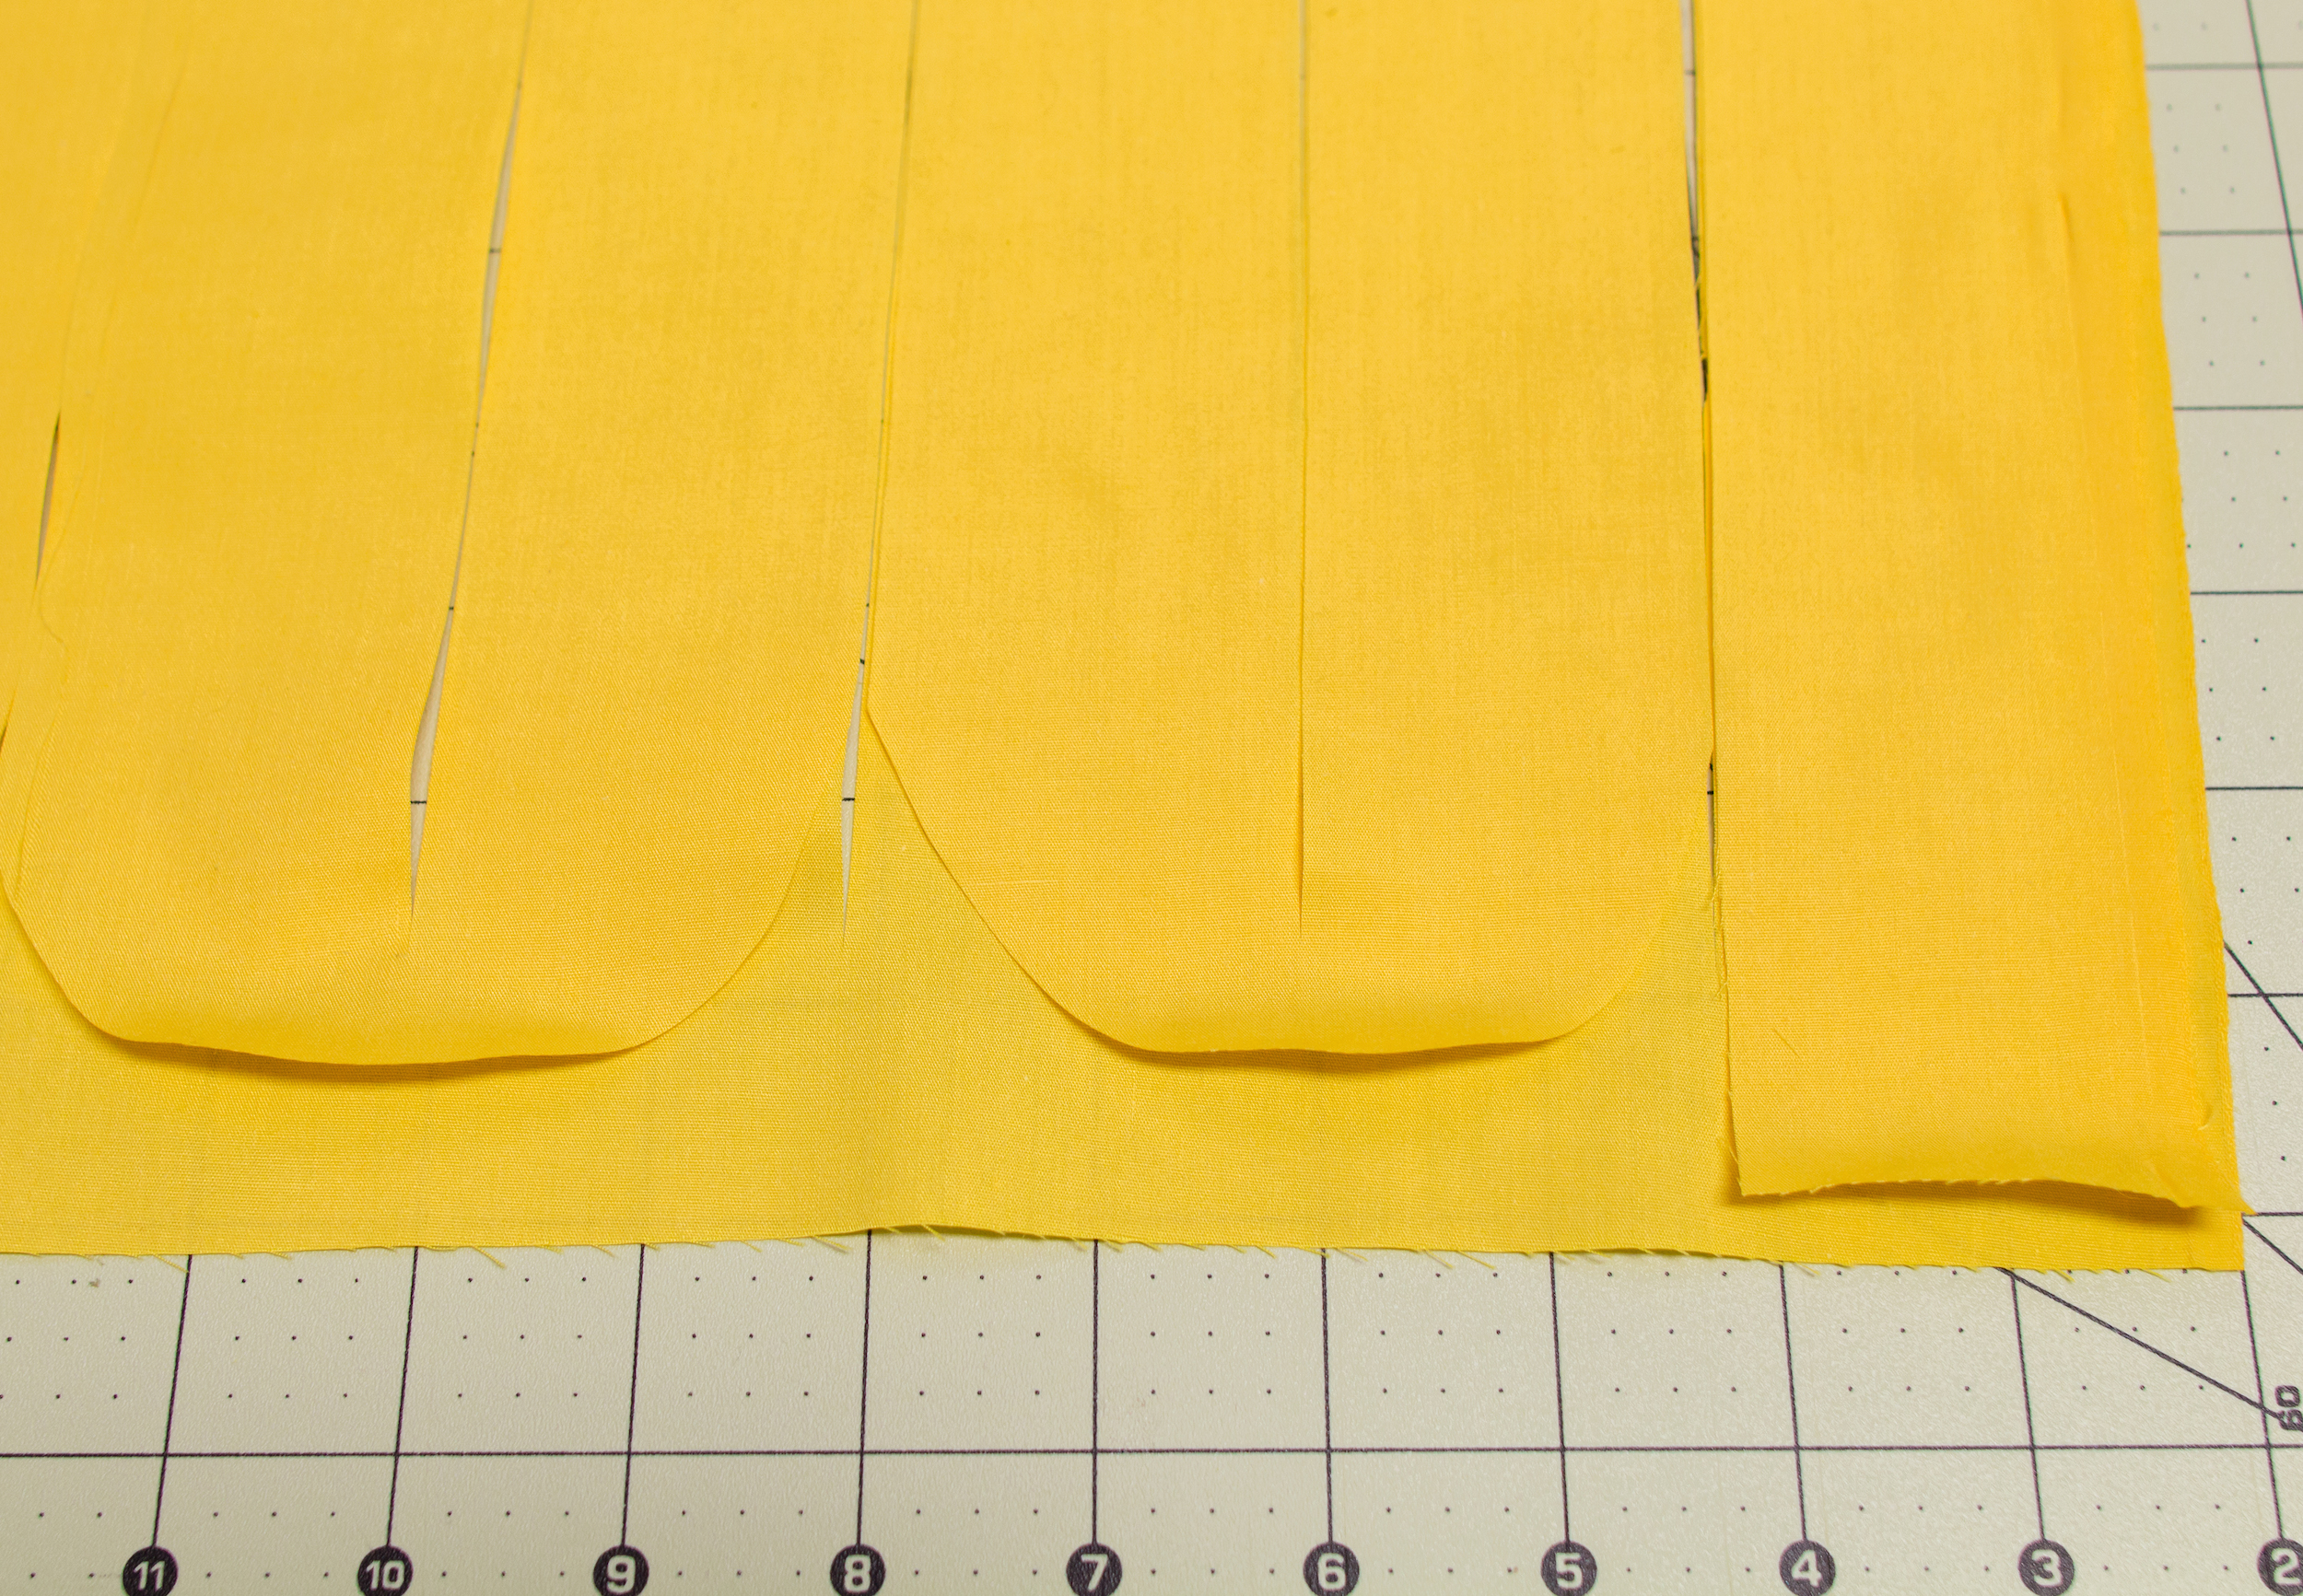
How to do the magic bits
- Flip the stacks of folded strips up and away from the uncut edges.
- Working only with the top layer of of fabric along the uncut edges, use scissors to cut through the 1.5 inches to cut first strip free.
- Cut every other strip to the end. Depending on your fabric width, the last strip may be either single or double.
- Trim any excess fabric.

- With the scissors again, round off every pair of strips.
- Leave plenty of space at the end of your rotary cut so the “turn” has a similar width as the strips and doesn’t tear under tension.
- Flip up the layer of fabric edges you just cut to work with the bottom layer.
- To help find the beginning of your yarn later, lay the first single strip you cut off to one side.
- Cut the second layer of fabric edge in even pairs all the way across. Again, depending on your fabric width, the last strip may be either single or double.
- Round off every pair of strips as before.
- Grab the beginning of your yarn that you set aside before and wind a center-pull ball on your hand.

This works kind of like that trick in elementary school where you could cut a hole in a piece of paper big enough to walk through. If you mess up, you’ll get a bunch of rings or smaller strands. Don’t worry! You can still cut them and tie them together, you’ll just have a few knots in your ball of fabric yarn.
We hope you’ll show us what you make! Send us a snap on SnapChat at username KnitsForLife, or over on Instagram, Facebook, and Twitter.
Keep up with new tutorials, knitting and crochet patterns, and coupons with our newsletter over here!
xxxo,

One Comment
Comments are closed.